SETUP GUIDES
BEST IPTV SERVICE
OUR SERVICE IS compatible with all devices
FIRESTICKS/ANDROID,IOS,PC,PLAY STATION,MACBOOK ,ROKU etc..
THAT MEAN YOU CAN USE WITH ANY DEVICE ANY WHERE,
WHEN YOU ORDER subscription THEN YOU WILL RECEIVE EMAIL WITH SETUP GUIDE.
TRY OUR FREE 24 HOURS TEST NOW.
How to install Own STAR IPTV App on Amazon FireTV Stick via Downloader?
-Enabling the installation of third party apps on Firestick
-Downloading the STAR IPTV onto your Firestick and installation
-Setting up STAR IPTV and installing IPTV on it
-Enabling the installation of third party apps on Firestick
So usually we open the app market on Amazon FireTV Stick, search the desired app and install it by one click. Sometimes, like our case here, we need to install apps from outside the market. Firestick call it Apps From Unknown Sources. To do so, you need to enable this installation method on your Firestick. To learn how, read this tutorial.
-Downloading the STAR IPTV onto your Firestick and installation
Now we need to download the .apk file of STAR IPTV onto our Firestick. For this, we need an app called Downloader which is installed by default on Firesticks usually and if not, search and install it from the app market.
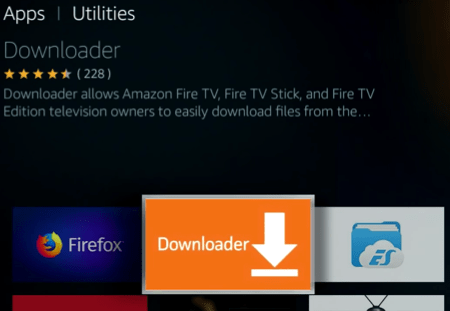
1-From utilities section, open Downloader.
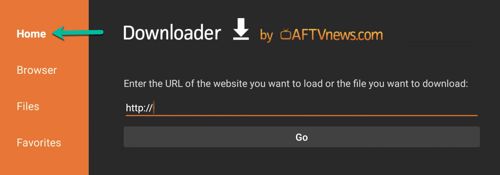
2-First click on Home to bring up the address field then type :61768 or URL from STAR IPTV APP: http://stariptv.best
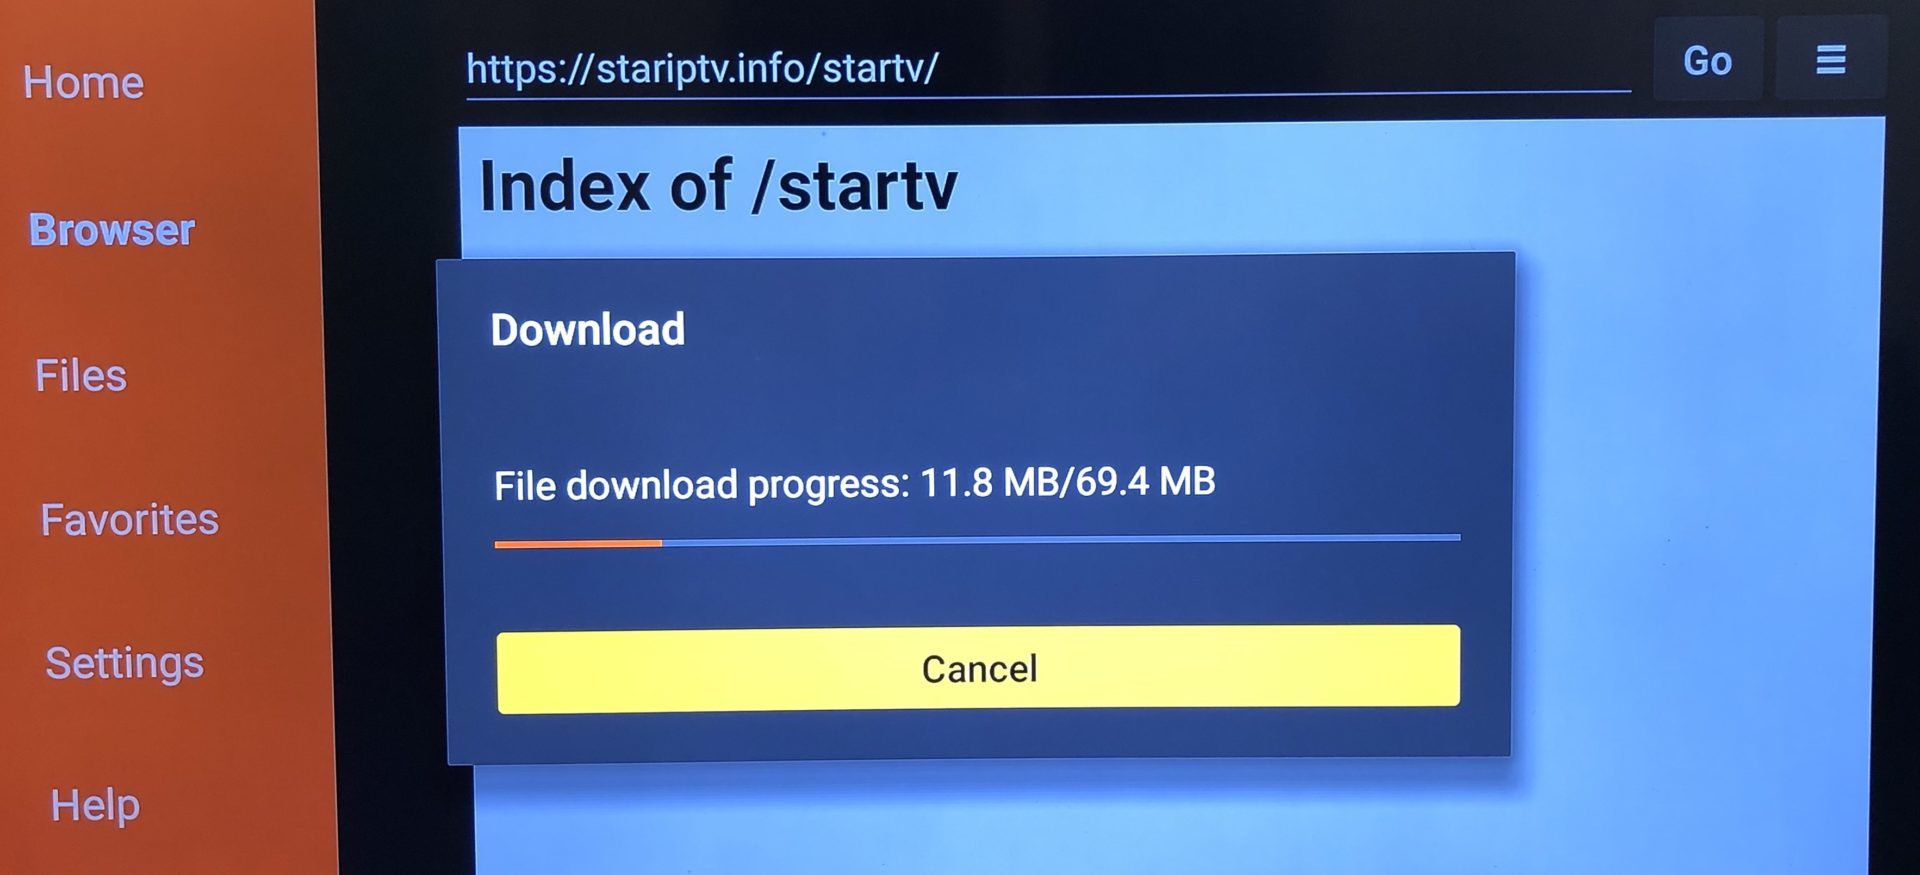
3-After doing so, click Go and the file should start downloading. Size is around 69MB.
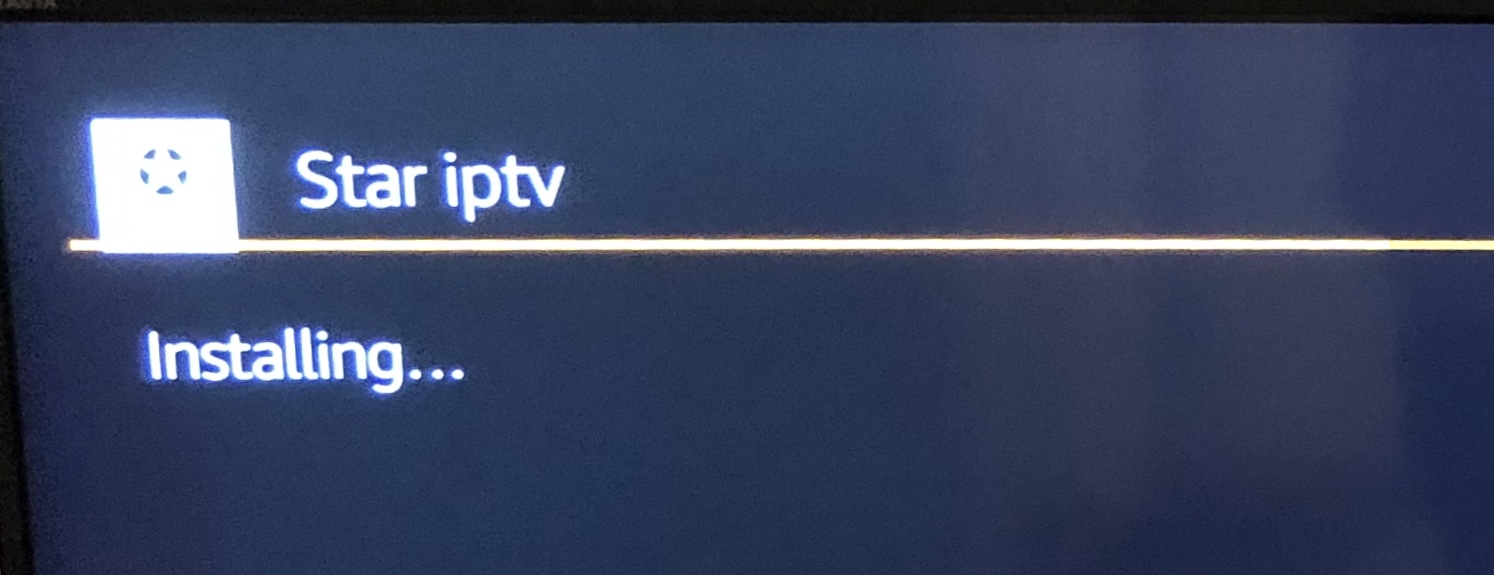
4-Installation might take a few seconds.
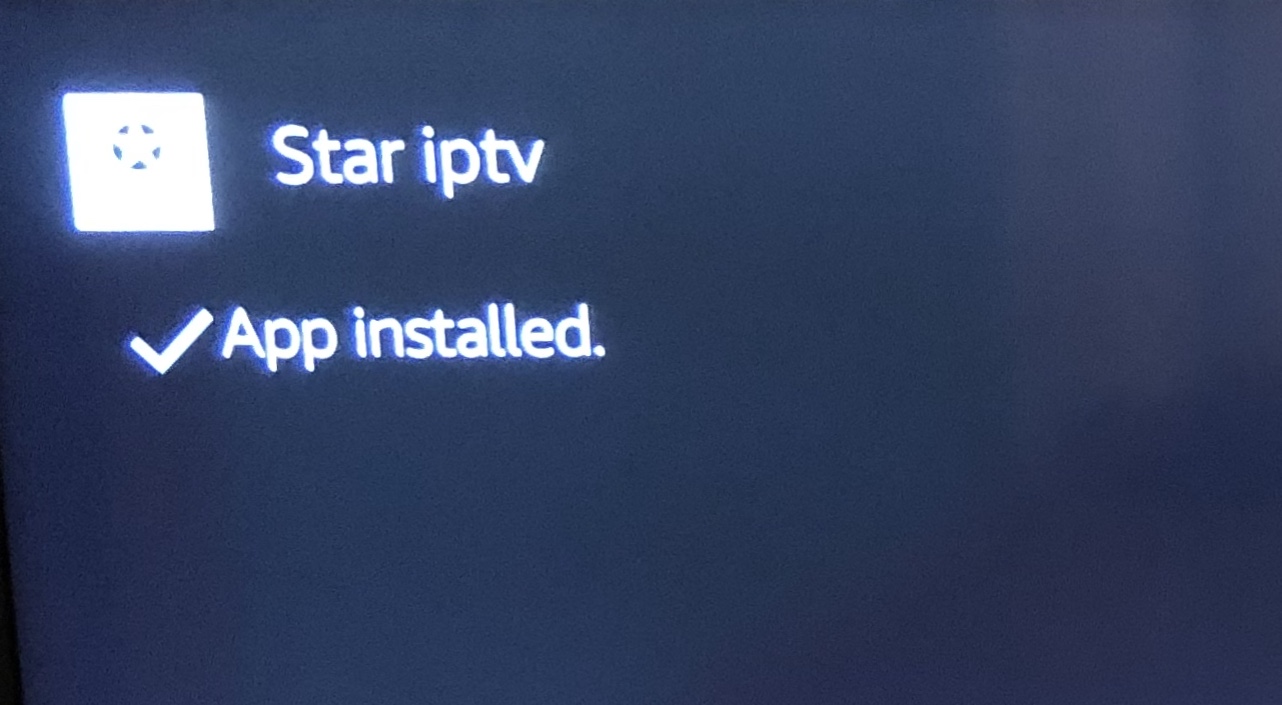
5-If all goes fine, App Installed message should show up.
6-Now choose open Application.
7-Fill your Login Details That you Have received in your email
8-Tadaa!
(STAR IPTV) ANDROID APP
Amazing IPTV android app for you: Star IPTV app
You can easily to set up my IPTV Android app for your device.
It available for all android device like LG TV, Samsung Smart TV, Android TV,Android box, Phone, and players club,…
I gonna show how to set it up.
Setup “Star IPTV” in 2 simple steps
Step 1: Download apps from https://stariptv.best
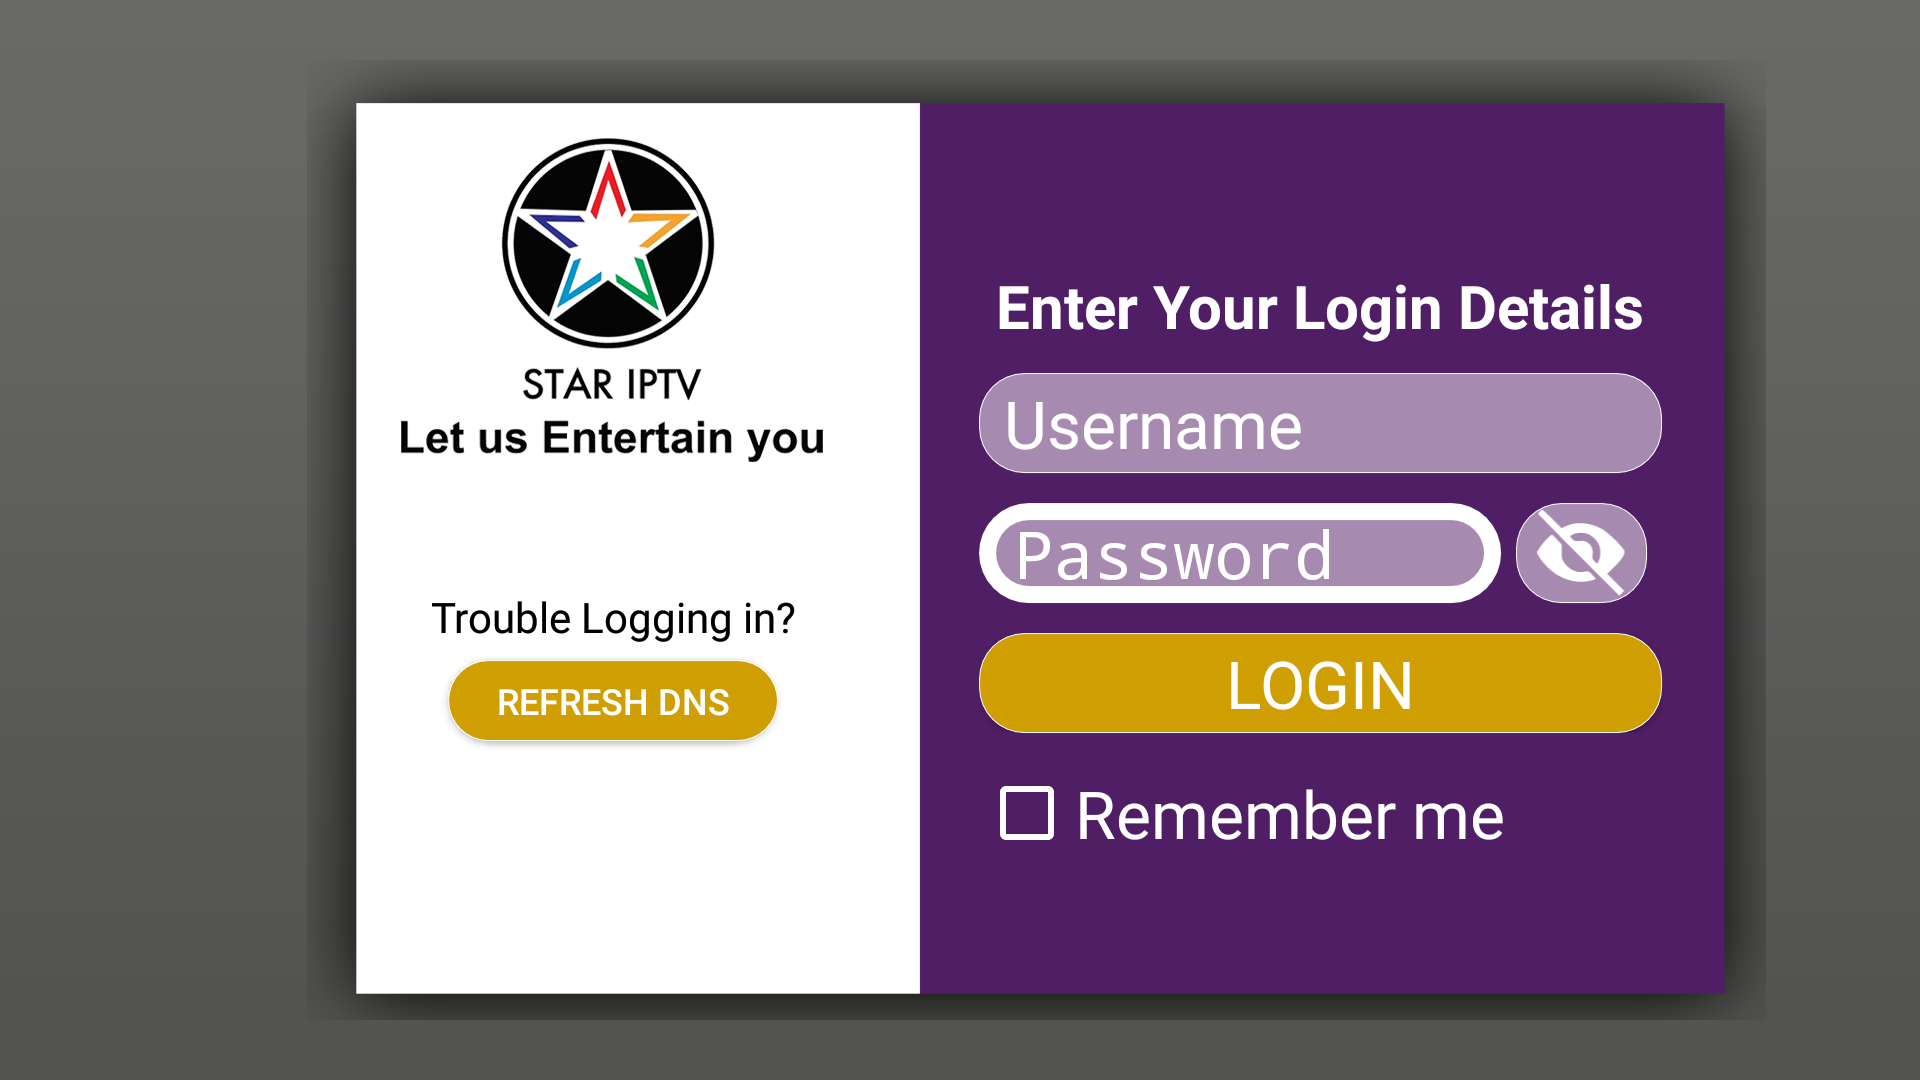
After Install, open it up. The first time you open “Star IPTV” app it just looks like that.

Step 2: Now what we are going to do is go ahead and enter your username and password in the Username and Password section.
If you don’t have username and password please Contect Us from our website. We will send a free trial test for 24h.
After that, you just need to click on LOGIN button and wait for a second
You will see here it load up the channel. The app will show there:
Live TV: Now you can see it. We have 18000+ channels in total. It is sorted by country. You can click on choose the country after that choose the channel you want to watch and enjoy it.
Live TV with guide: Go to the line TV with the guide. And click on it. You can see many different categories on the top. You want to watch something just come over and click on it. It takes a little time to load you just need to wait for it. You need a little bit of patient, loading speed depends on internet speed.
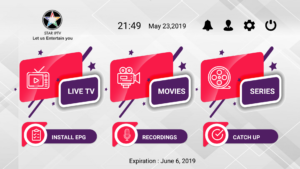
Video on demand: We have more than 30000 VOD including TV series. You can click on and check it out.
How to Setup IPTV on WINDOWS, COMPUTER, SURFACE BOOK AND MAC, MAC-BOOK ?
SMARTERS media player – We Provide free Apps For windows and MAC, MAC-BOOK t is a free media player. To play the multimedia file you do not need to set any extra codec up, they are already set in a program up. this program will be perfect for watching TV programs on your computer. This program works with the most modern operative systems. you can download apps for windows and mac from this link http://apps.stariptv.best
1. Download and install SMARTERS media player on your computer. (Download link)
2. Download the app and install it. Then fill your details ( username and password ) Which we proivde you on your email (Your account).
3. Login Your account.
4. Watch your Favourite Channels . anywhere anytime.
5.Enjoy!
How to Setup Apple iPad, Apple iPhone or Apple TV
How to watch IPTV with IPHONE/IPAD’s
Step by step to get IPTV on iphone/ipad in few minutes
Step 1: please check on this link or open this link on your iphone/ipad
Link: https://apps.apple.com/eg/app/globle-player/id1616174252
After download iptv STAR-Bestusa app Logo
Step 2: Fill your login details
Username: Enter username of your line
Password: Enter the password of your line
After that click on Login and wait a few minutes to load channel.
MAG BOX
How to set up an IPTV MAG device?
5 minutes to set up and get 18000+ channels and more than 30000+ VOD from STAR PTV
If you wonder where to find your MAC address?
In order to find the MAC address of your MAG box, simply turn the box around and you can find the MAC address on the backside of your device. And register with your MAC address
5 steps to install IPTV on your MAC device:
Step 1: Turn on your MAG device. Loading it up and click Settings
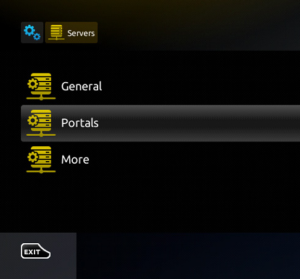
Step 2: Go to the Setting menu. Click on System settings and click on “Servers”
Step 3: Select “Portals”
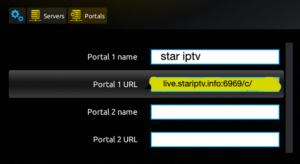
Step 4: In the “Portal 1 name” line enter the name of severing. It is STAR IPTV
In the “Portal 1 URL” enter the postal address: Which we provide you, This is a portal link for Star iptv server. Please double check all character
Step 5: When all the operations listed above is done, then press “OK”.
When all the steps listed above are done press”EXIT” 2 times on the remote control and restart the portal.
Now everything is ready to start watching Live TV…
Notice: If you are using MAG 250 or MAG 256 and your portal does not load the reason can be my list is too big and your device can not handle it
You can choose the package you want to watch with this. Contect Us
It will reduce your list and then your device will work.
IPTV MAG
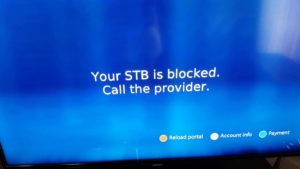
If you have status “Your STB is blocked. Call the provider“. Maybe your MAC address is not active. Please contact us. I will add a MAC address for you.
Setup IPTV for Android STB Emulator
1. Download StbEmu (Free) from the Google Play Store onto your Android device or Download Free stbEmu(pro) here.
2. Load Stb Emulator and you will see this screen
3. Tap near the top-right corner, then click Settings—the 4th icon from the right
4. Tap Profiles
5. Tap Test portal to modify the existing profile or Add profile to create a new one
6. Tap STB Model.
7. Tap MAG 250, or whichever STB you wish to emulate
8. Tap Portal settings
9. Tap Portal URL
10. Enter your Portal for MAG and STB: We provide you, you need to buy or ask iptv trail first and press OK
11. Now tap Screen Resolution
12. We recommend you choose 1280×720. You are welcome to choose higher, but it may be laggy.
13. MOST IMPORTANT STEP: Scroll down and find the MAC address. This is an important number because it is how your IPTV service will identify your set-top box.
14. You must tell us your MAC address.
Done IPTV for Android IPTV STB Emulator. Once you get an email saying your order’s been completed, you can launch StbEmu.
Enjoy.
Using Enigma2 (linux)
How to setup Enigma2 IPTV (Zgemma) devices Using PuTTY
The first thing to do is install putty, a free SSH/Telnet Windows client: http://www.putty.org/
> Download the program and install Putty
> Take the Box ip address
> Putty program “Host name” Enter the section and under the section “Telnet” Select

> “Open” button
> To open the black screen
> “root” enter and your Device Root User & Password.
PLEASE NOTE: This line is just an example, the original Line you will get from us, once your logged in, just put in to thw Terminal Window the IPTV Autoinstaller Script and hit ENTER:
> wget -O /etc/enigma2/iptv.sh “http://domainname.com:port/get.php?username=MyUser&password=MyPassword&type=enigma22_script&output=ts” && chmod 777 /etc/enigma2/iptv.sh && /etc/enigma2/iptv.sh
> “reboot” enter
and after install reboot your box and Enjoy!
NOTE: Remember to use the correct m3u link which was sent to your email after purchasing.
Guide for adding EPG IPTV Subscription
Download e-channelizer from :
http://echannelizer.com/downloads.php#
Assign DVD References to IPTV Channels for EPG :
The channelized program needs to be installed on a Windows machine.
As long as your box has working EPG with Satellite already, then you can just drag and drop (whilst holding ctrl) the equivalent Satellite channel over the top of the IPTV channel.. this will assign the correct Reference to it.
You’ll then need to write the changes back to your box.. It will restart the GUI and then all should be well.
Using Roku
Using Smart IPTV
How to watch IPTV on Smart TV with IPTV Smarters player app
day I will show you how to install the most popular application on smart tv call IPTV Smarters player. This app is free and available on LG smart tv store and Samsung smart tv store. IPTV Smarters player application supports EPG as well as Pistons and grouping channel. It is very easy to set up too. Follow me.
You need:
– A smart tv connect to the internet
– An account with Stariptv. If you don’t have an account yet you can register to get 24 hours free trail
Step by step to get IPTV on Smart Tv after few minutes
Step 1: Install IPTV Smarters player or OR ANY IPTV APP
First of all, go to the store of your smart tv apps and look for the app or search IPTV Smarters player app
This app has been added to the store lately on LG smart TVs and Samsung.
Install the app on your tv. If it asks you to login you can create a free account with LG app store.
Step 2: Enter your info
There are 4 sections you need to fill your info in
Any name: you can enter any name
Username: Enter username of your line
Password: Enter the password of your line
Port: we provide you
After that click on Add user and wait a few minutes to load channel.
We have 9000 live channels and more than 18000 VOD and series. You can check series on Movies section.
Now you can click on Live TV section to see channel list. Then you can start watching TV by selecting any channel.
You can Contect US in on starip.info to get username line and password line.
With IPTV Smarters player app, you can use it on anroid device and iOs device too.
If you need any help feel free to contact us with chatbox on starip.info
We love to help.